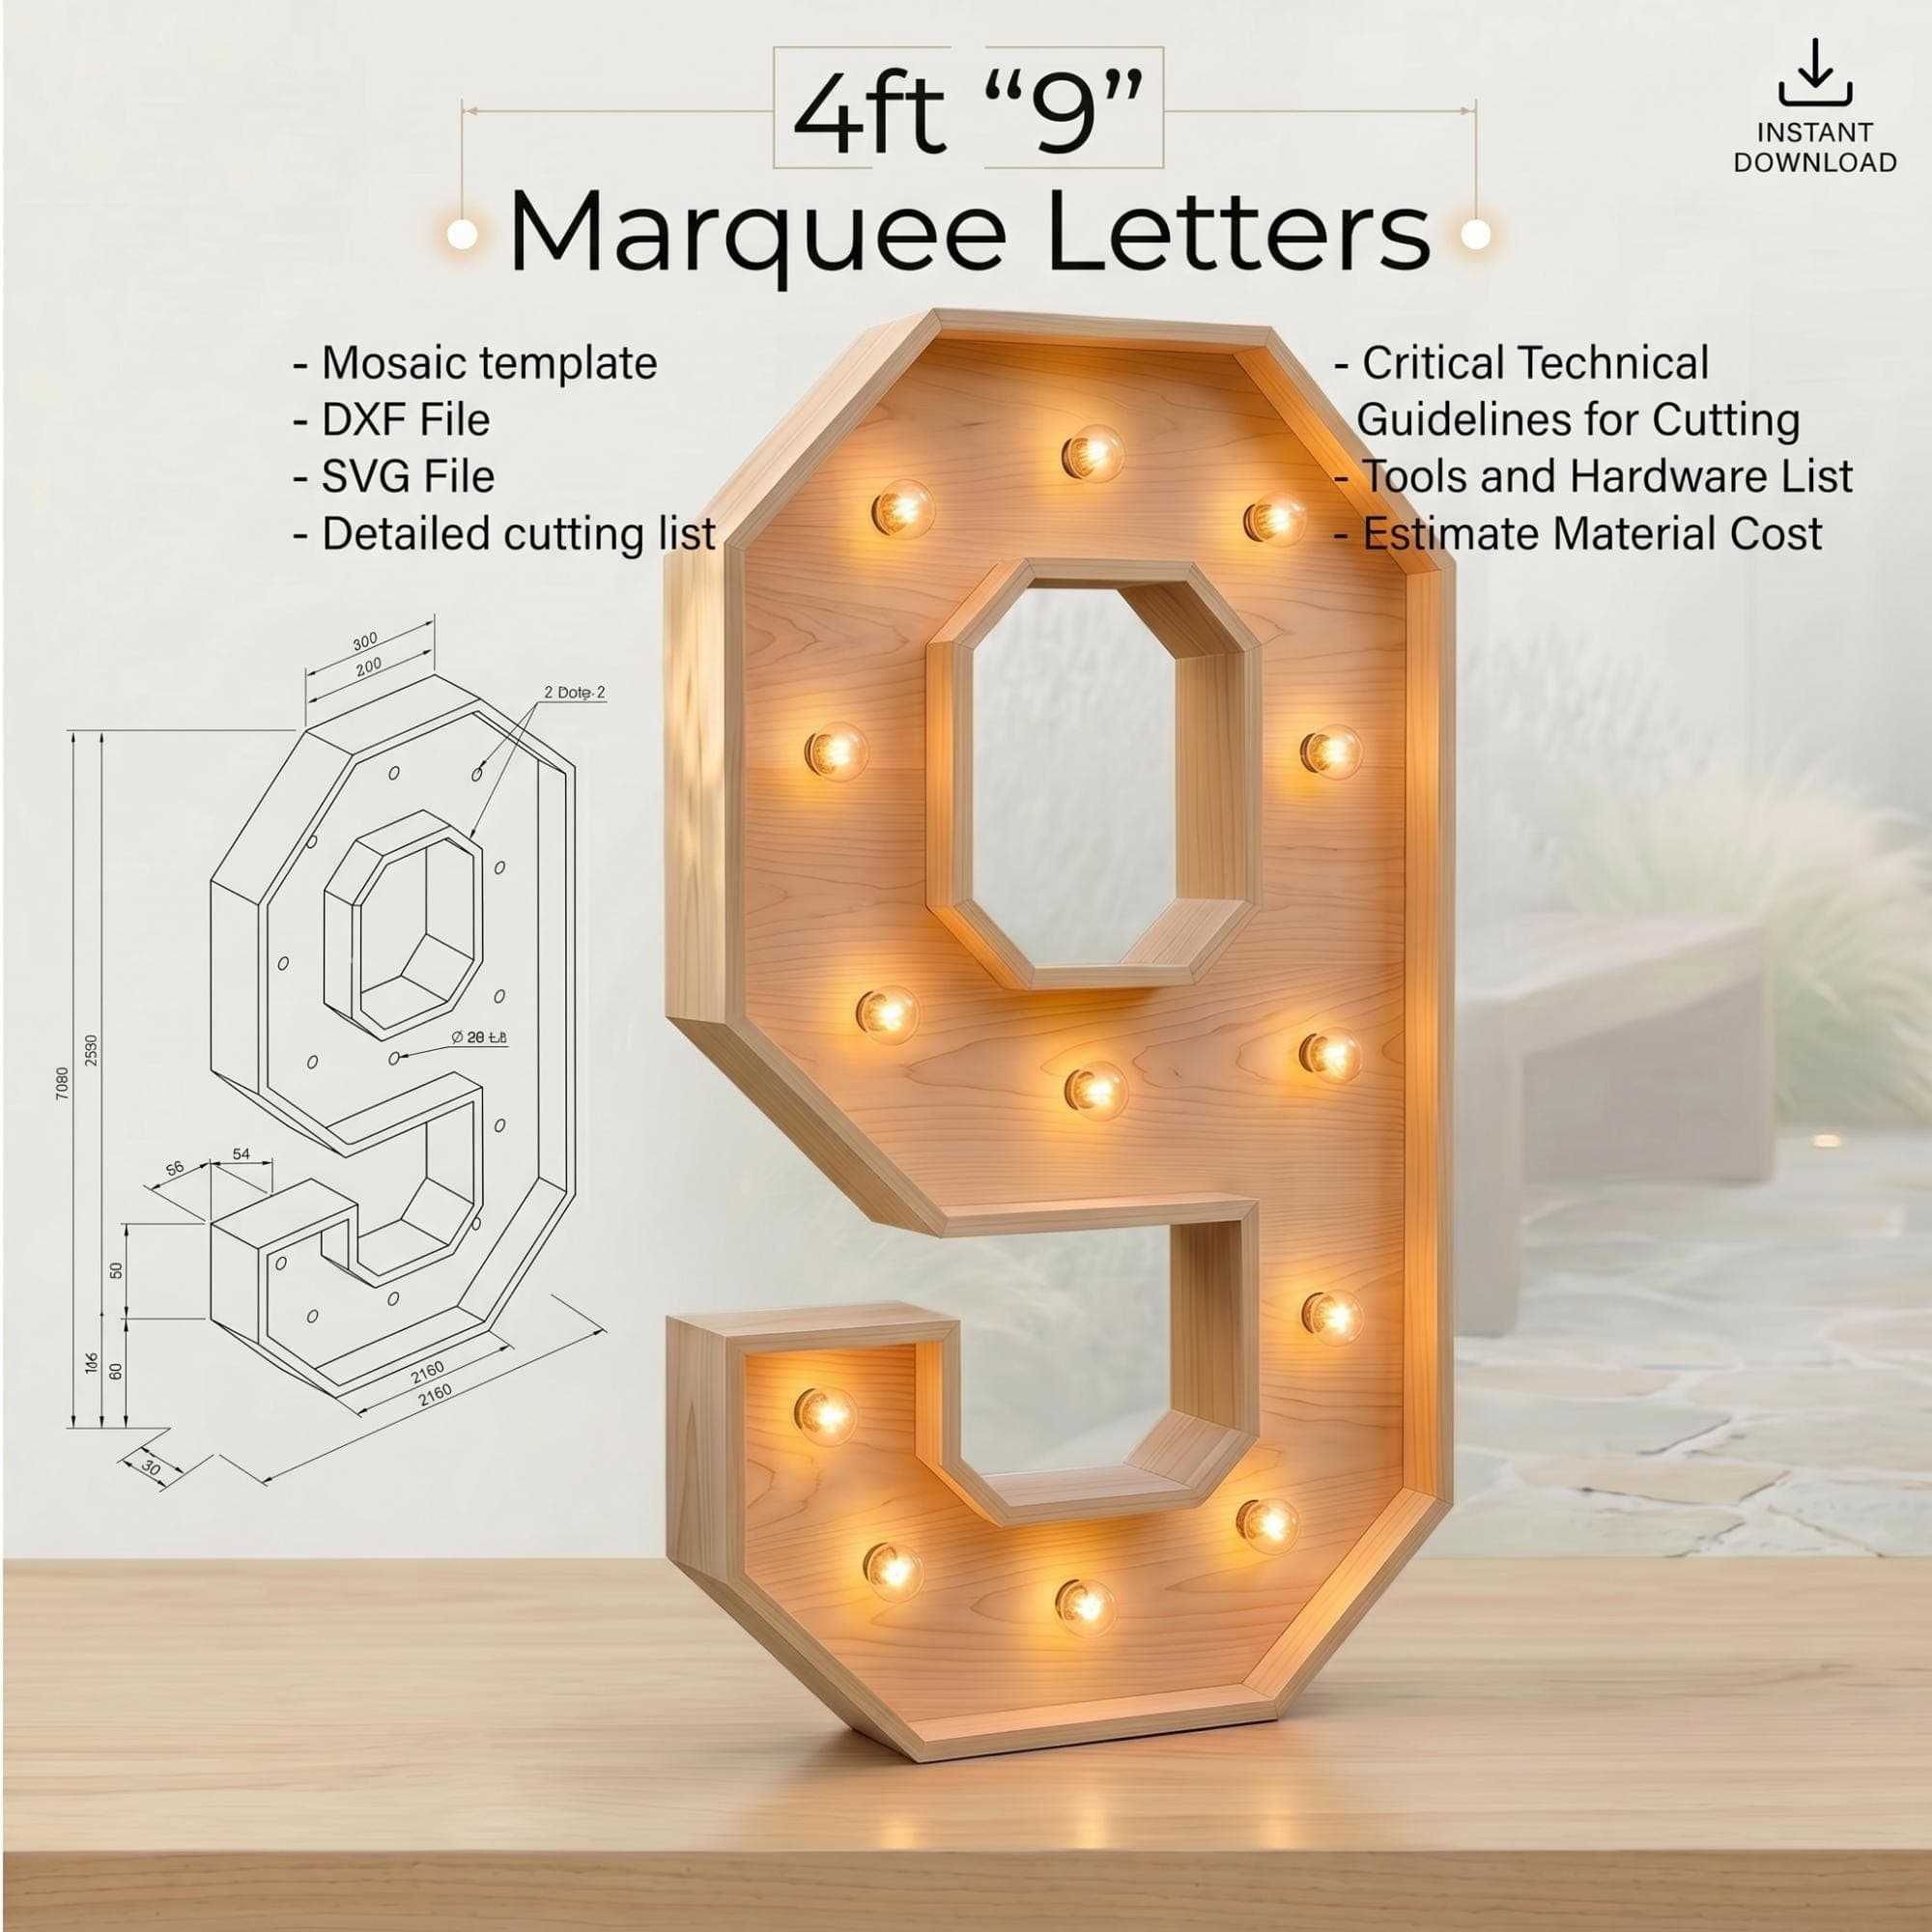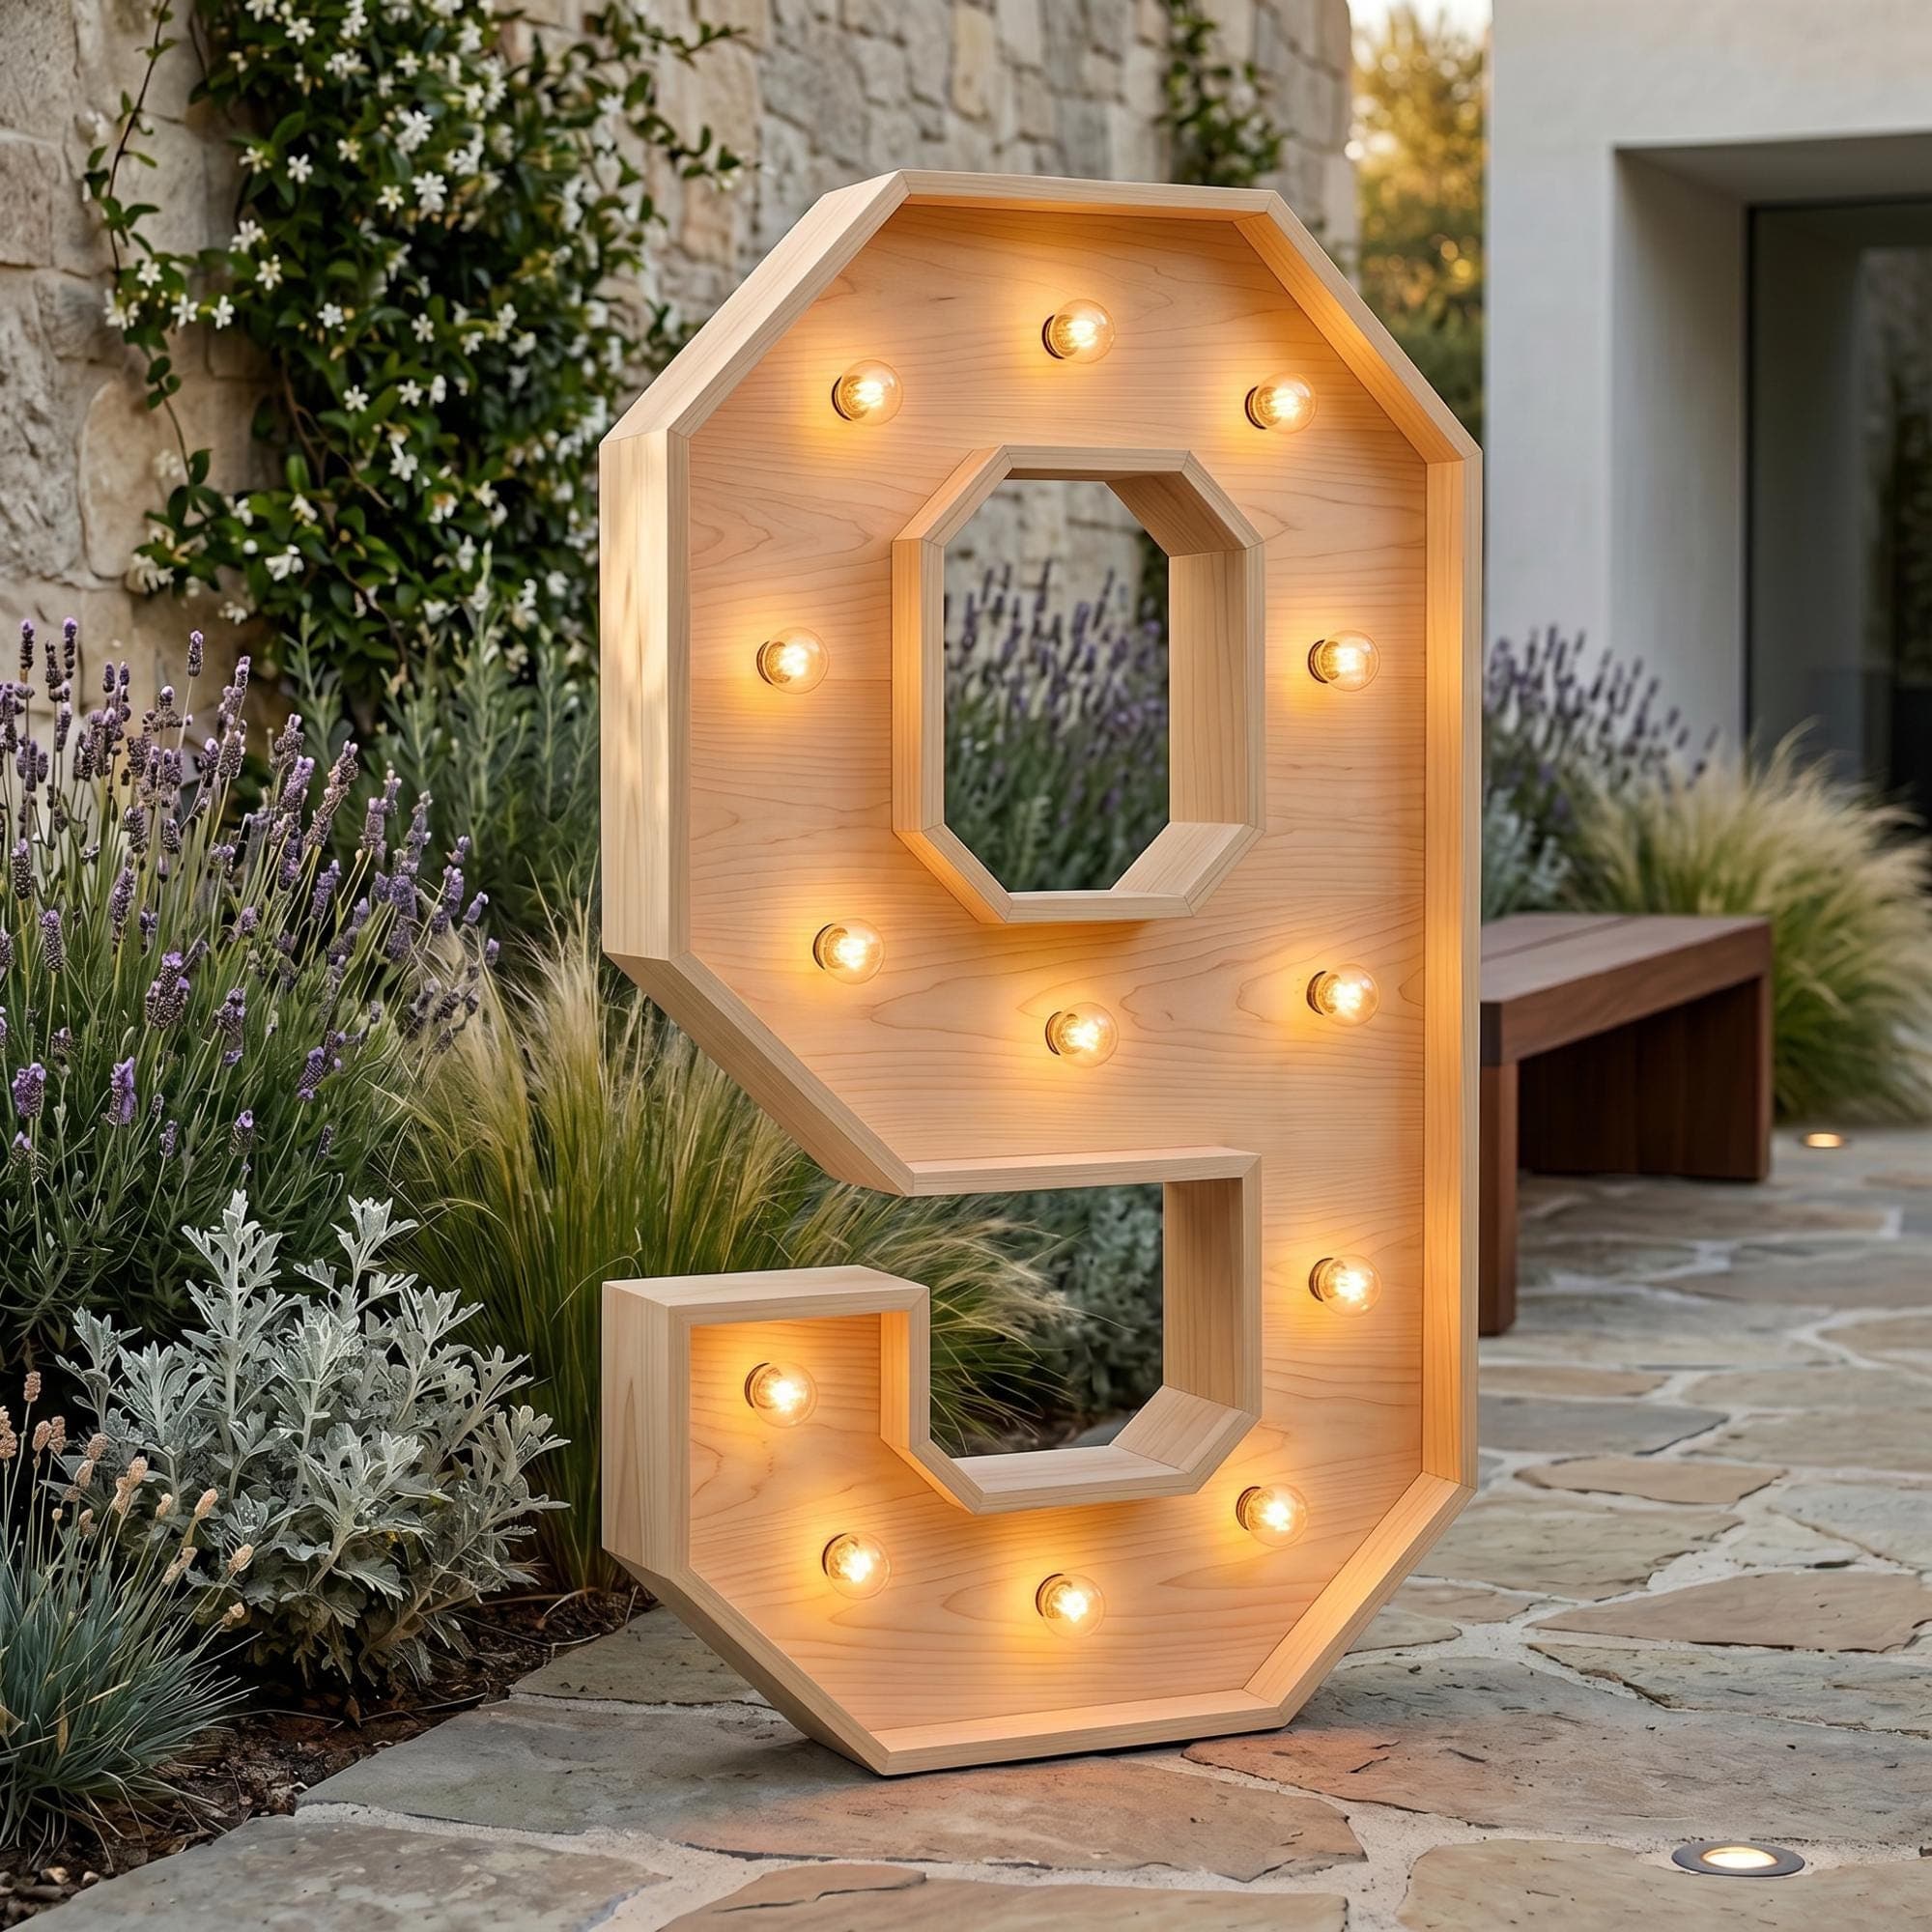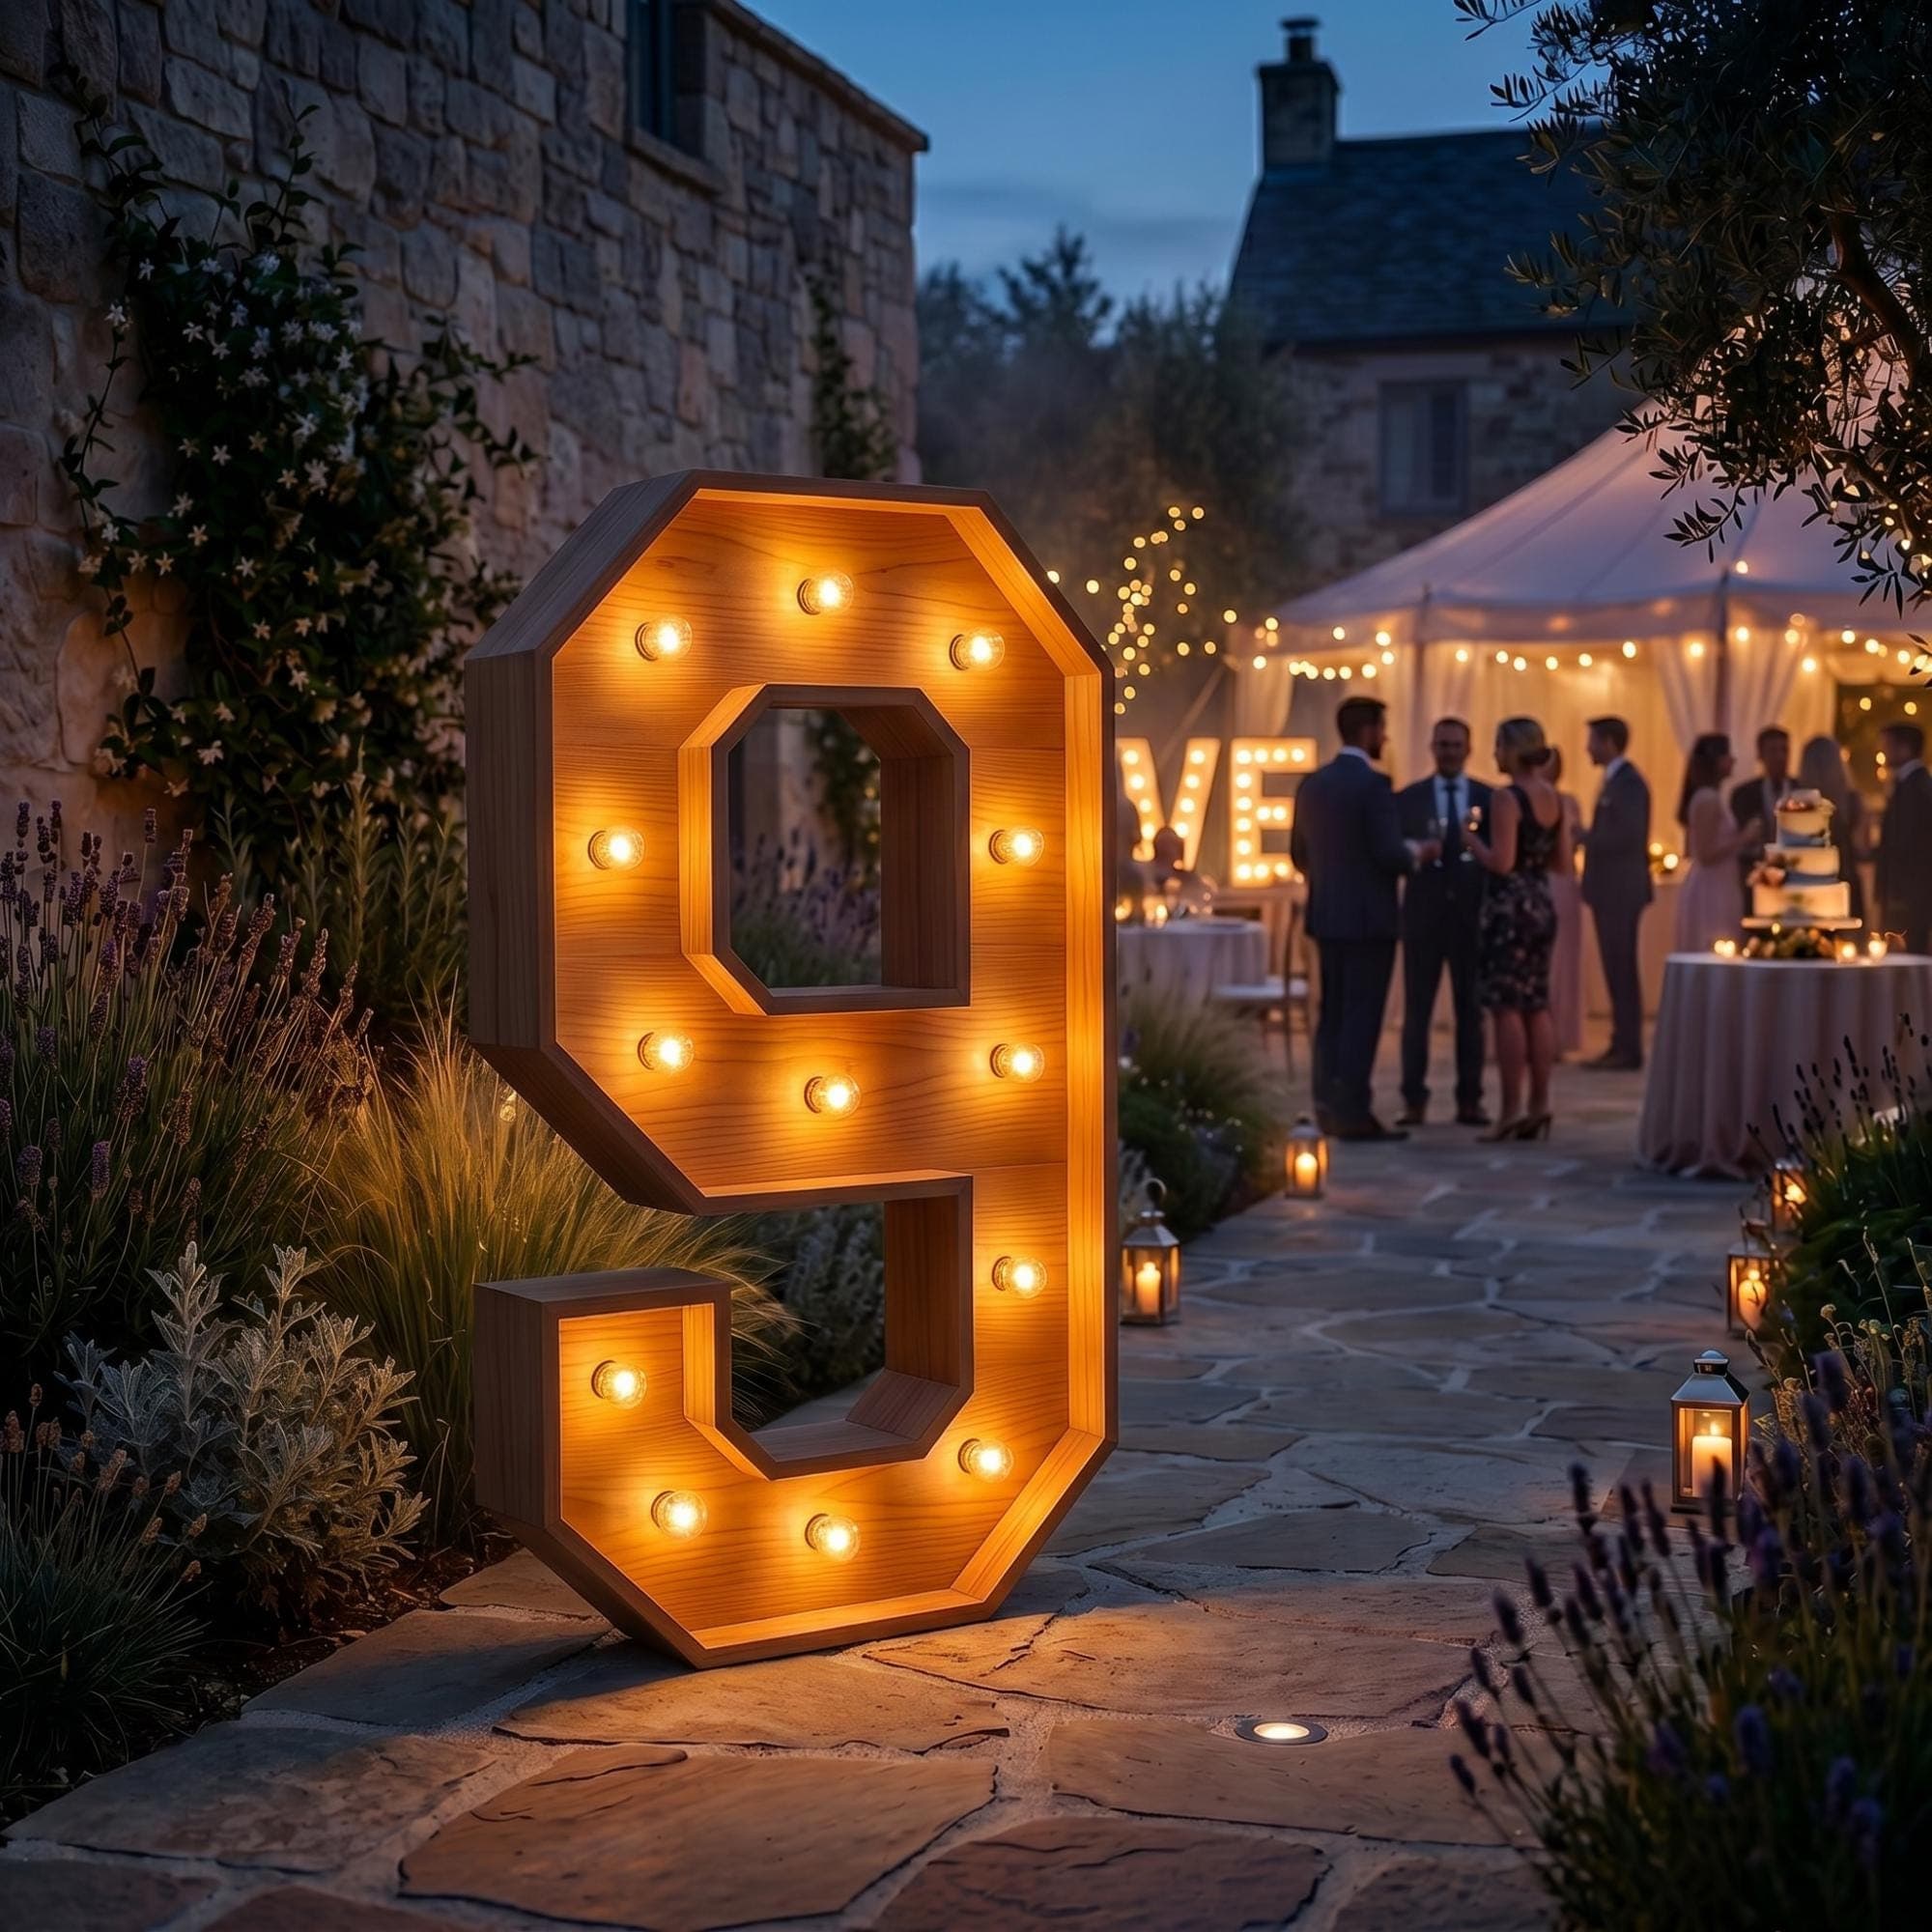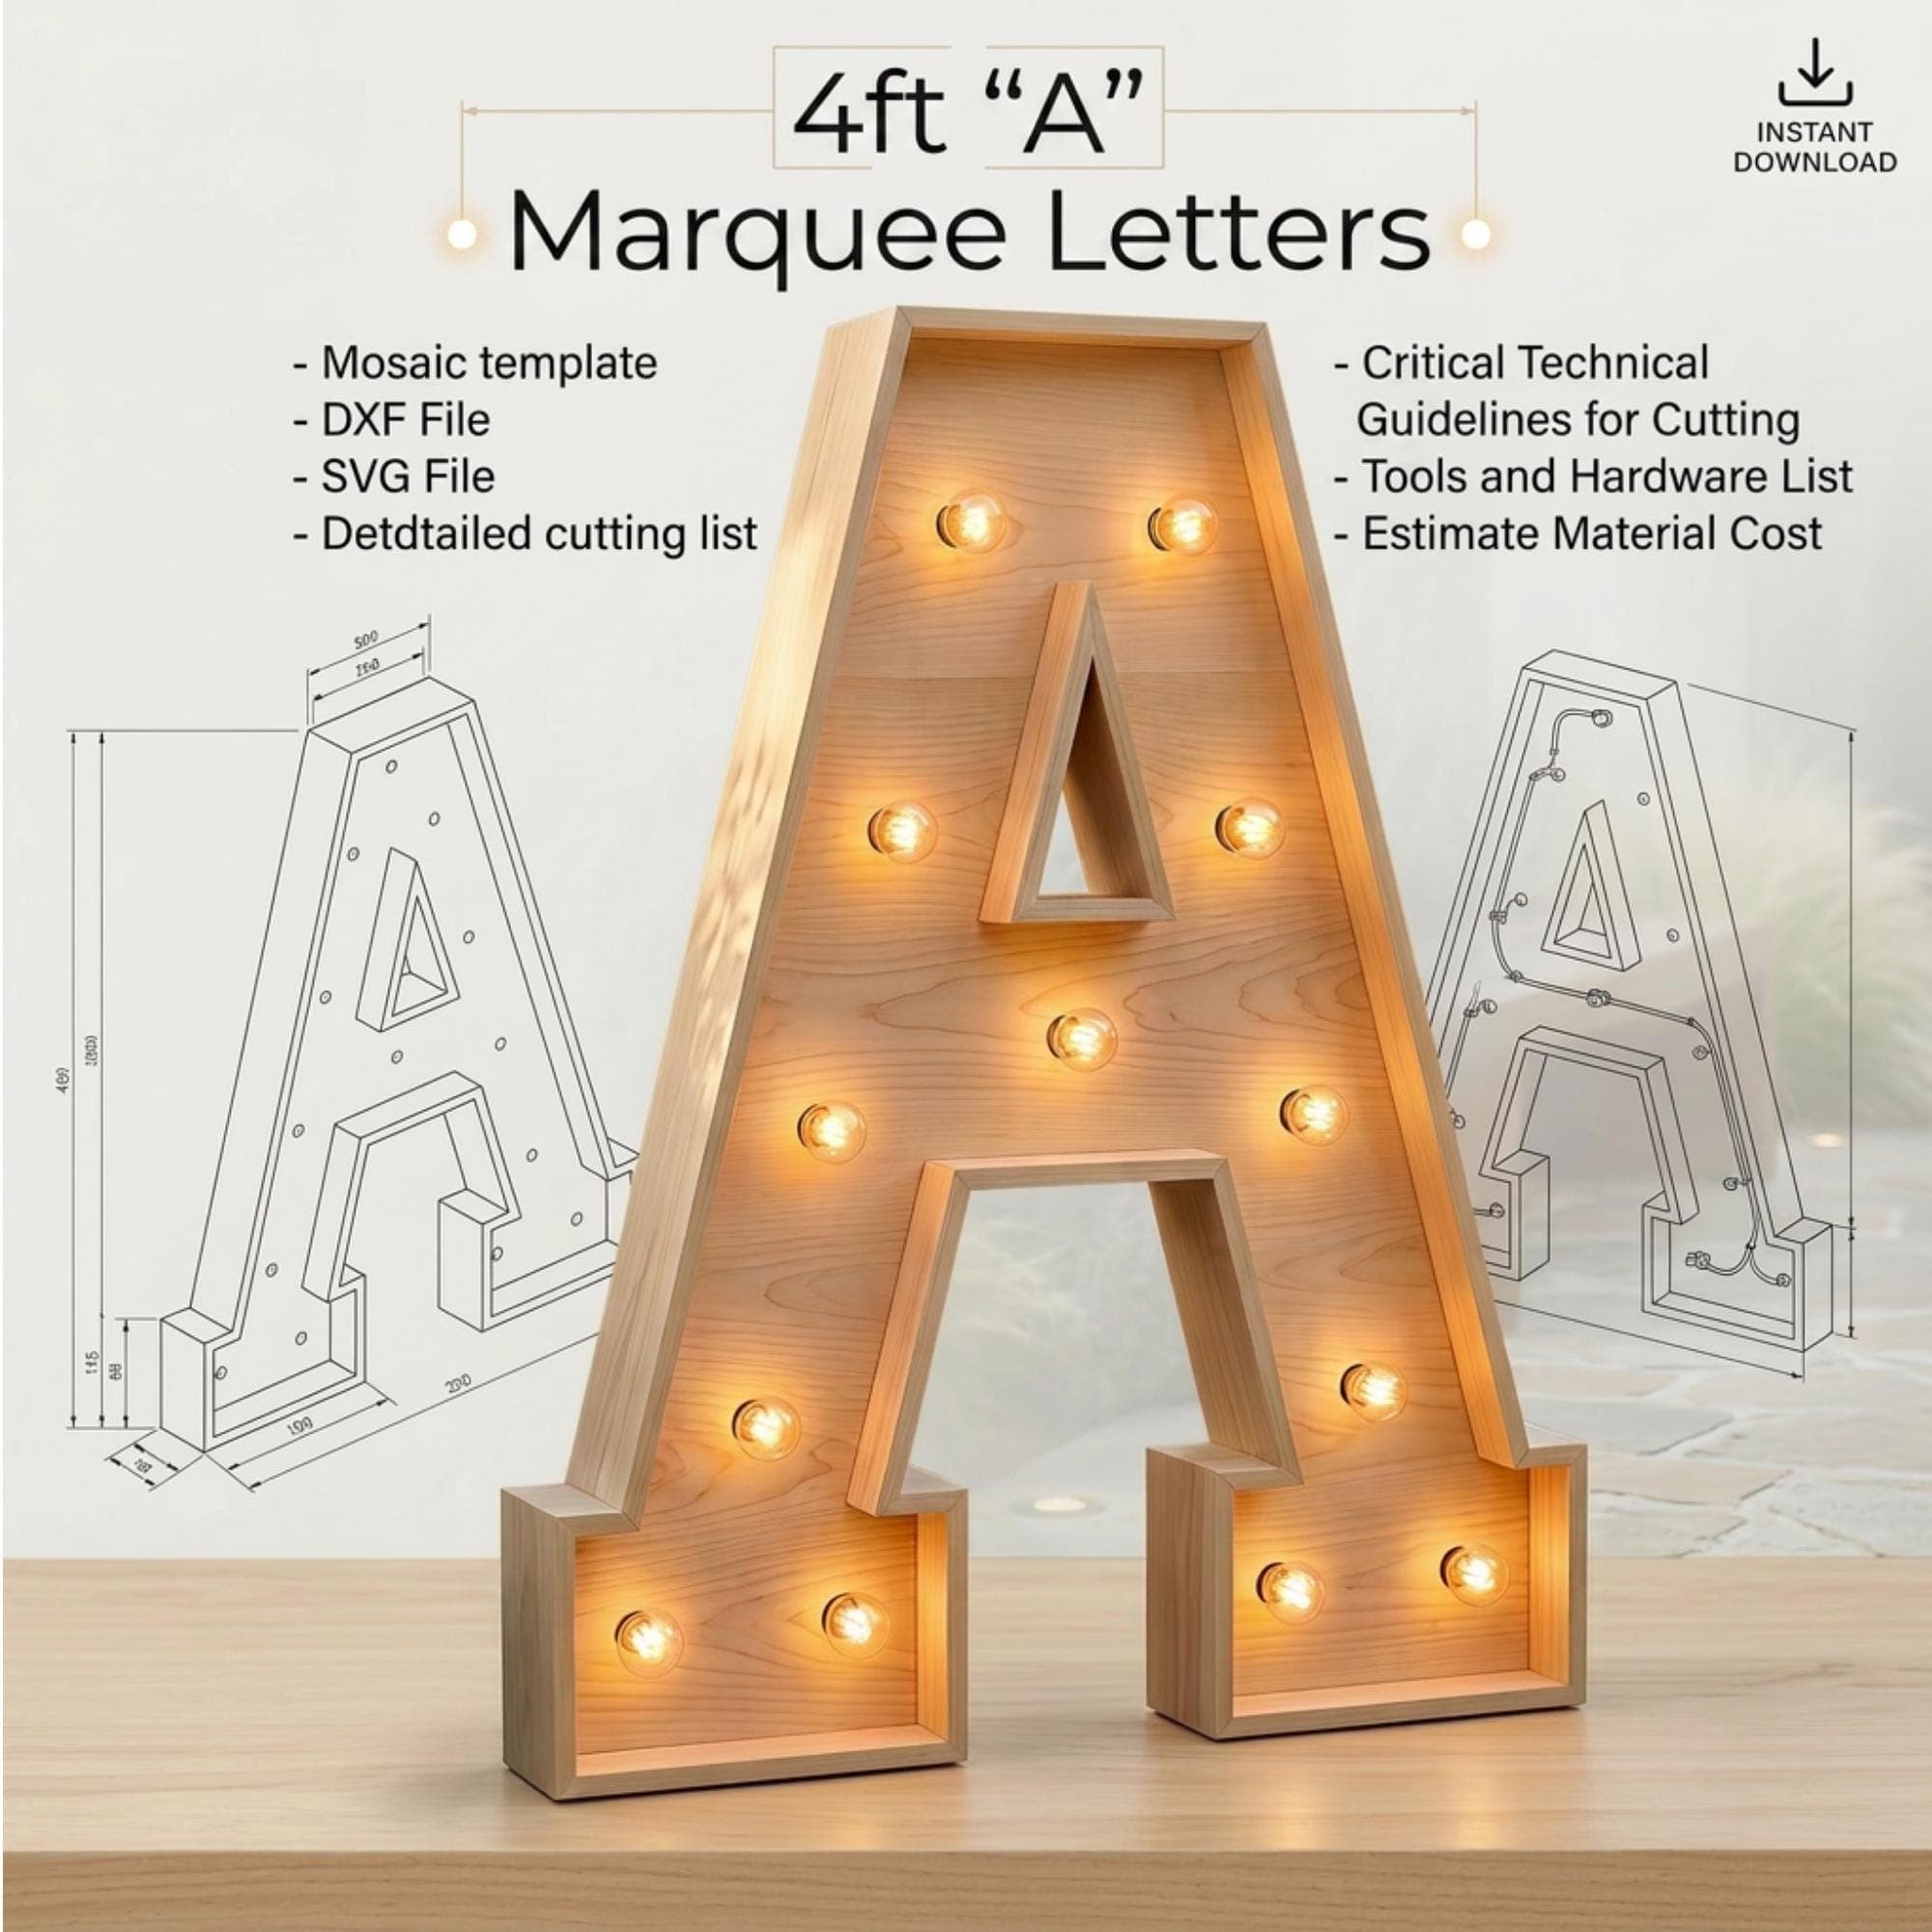
Building your own 4ft marquee letters is one of the most rewarding and profitable woodworking projects you can undertake. With standard workshop tools, a sheet of quality plywood, and the right blueprint templates, you can craft heirloom-quality event letters that look like they cost thousands.
Essential materials & tools needed
Before cutting into wood, gather these reliable materials:
- 1/2" (12mm) Baltic Birch Plywood or MDF: The ideal substrate for the letter face. Offers structural rigidity and clean edges.
- Side Returns (1.5" to 4" deep): 1/4" bendable plywood, flexible PVC foam board (Sintra), or sheet metal strips.
- Template Patterns: 1:1 scale printable mosaic PDF (tiled on 8.5x11 / A4) or vector SVG/DXF for CNC router cutting.
- Cabochon or Turbo LED Bulbs: E14, E12 or E27 faceted carnival cabochon caps and matching sockets.
- Tools: Jigsaw with fine-tooth wood blade (or CNC router), Forstner drill bit matching socket diameter, wood glue, brad nailer, and safety gear.
⚙️ Pro Woodworker Tip
Always drill your socket holes BEFORE attaching the perimeter return walls. Drilling flat on a work table with sacrificial backing wood prevents tear-out on the face.
Step 1: Printing and applying your 1:1 templates
If you don't own a CNC machine, don't worry! Print our full-scale mosaic PDF at 100% scale (no scaling / actual size). Match up the numbered alignment crosshairs, tape the sheets together, and use spray adhesive to stick the pattern directly onto your plywood sheet.
Step 2: Cutting the face & drilling bulb holes
Using a jigsaw with a scroll blade, slowly follow the contour lines. Keep your blade at 90 degrees to ensure square edges. Next, use a Forstner bit to drill each pre-marked bulb center hole. Clean the edges with 120-grit sandpaper.
Step 3: Attaching the perimeter returns
The return walls give your letters their 3D dimensional depth and hide the rear wiring harness:
- Start at a straight bottom section for invisible joints.
- Apply wood glue along the seam and tack with 18-gauge brad nails every 2–3 inches.
- For tight curves, pre-bend the material or use kerf cuts on the back face to flex smoothly around contours.
Step 4: Priming, painting & finishing
Apply two coats of high-build primer to seal the wood pores. Sand with 220-grit, then spray two coats of satin or semi-gloss lacquer. Bright white and warm off-white (cream) are the industry standard for wedding rental versatility.
Step 5: Wiring the light sockets in parallel
Crucial rule: Always wire your bulb sockets in parallel, never in series. If one bulb burns out or is removed, the remaining lights stay illuminated. Use stranded copper wire with crimped insulated spade terminals or solder connections, shrink-tubed for safety.